

Oh yes, where was I...
Rafters, collar ties, skylights, and sheathing.

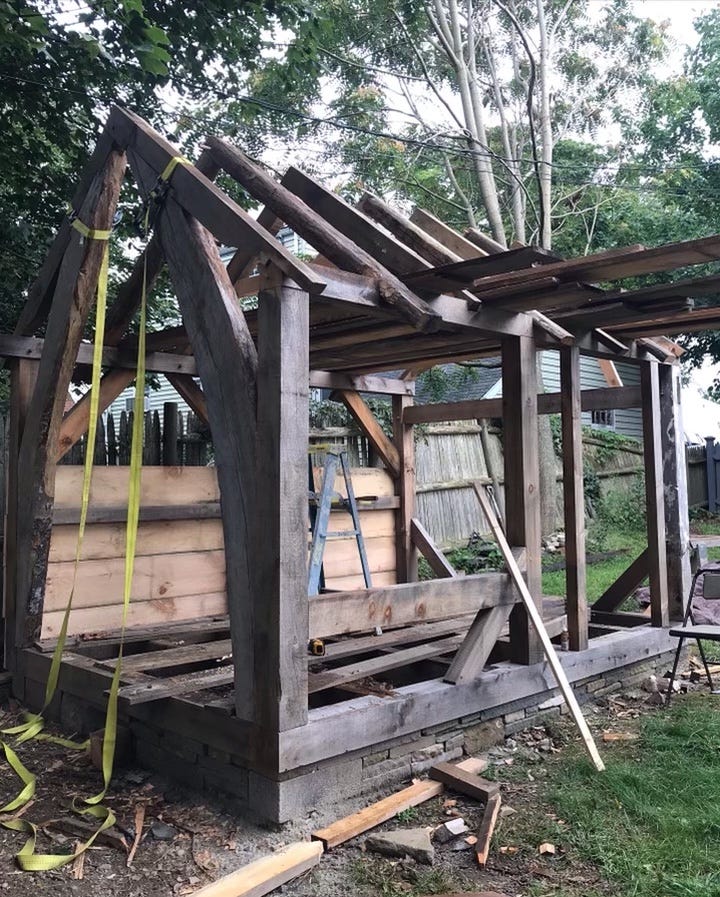
The snow has melted, and behold! a timber frame stands. Albeit, one still in need of tending. I was off doing other things, I started teaching two classes on the North Shore (3D Art & Design and a Timber framing class), and I’ve returned now (happily) to this little building. With a fire going and wood chips flying at the chisel, it’s hard not to feel like a child lost in play.
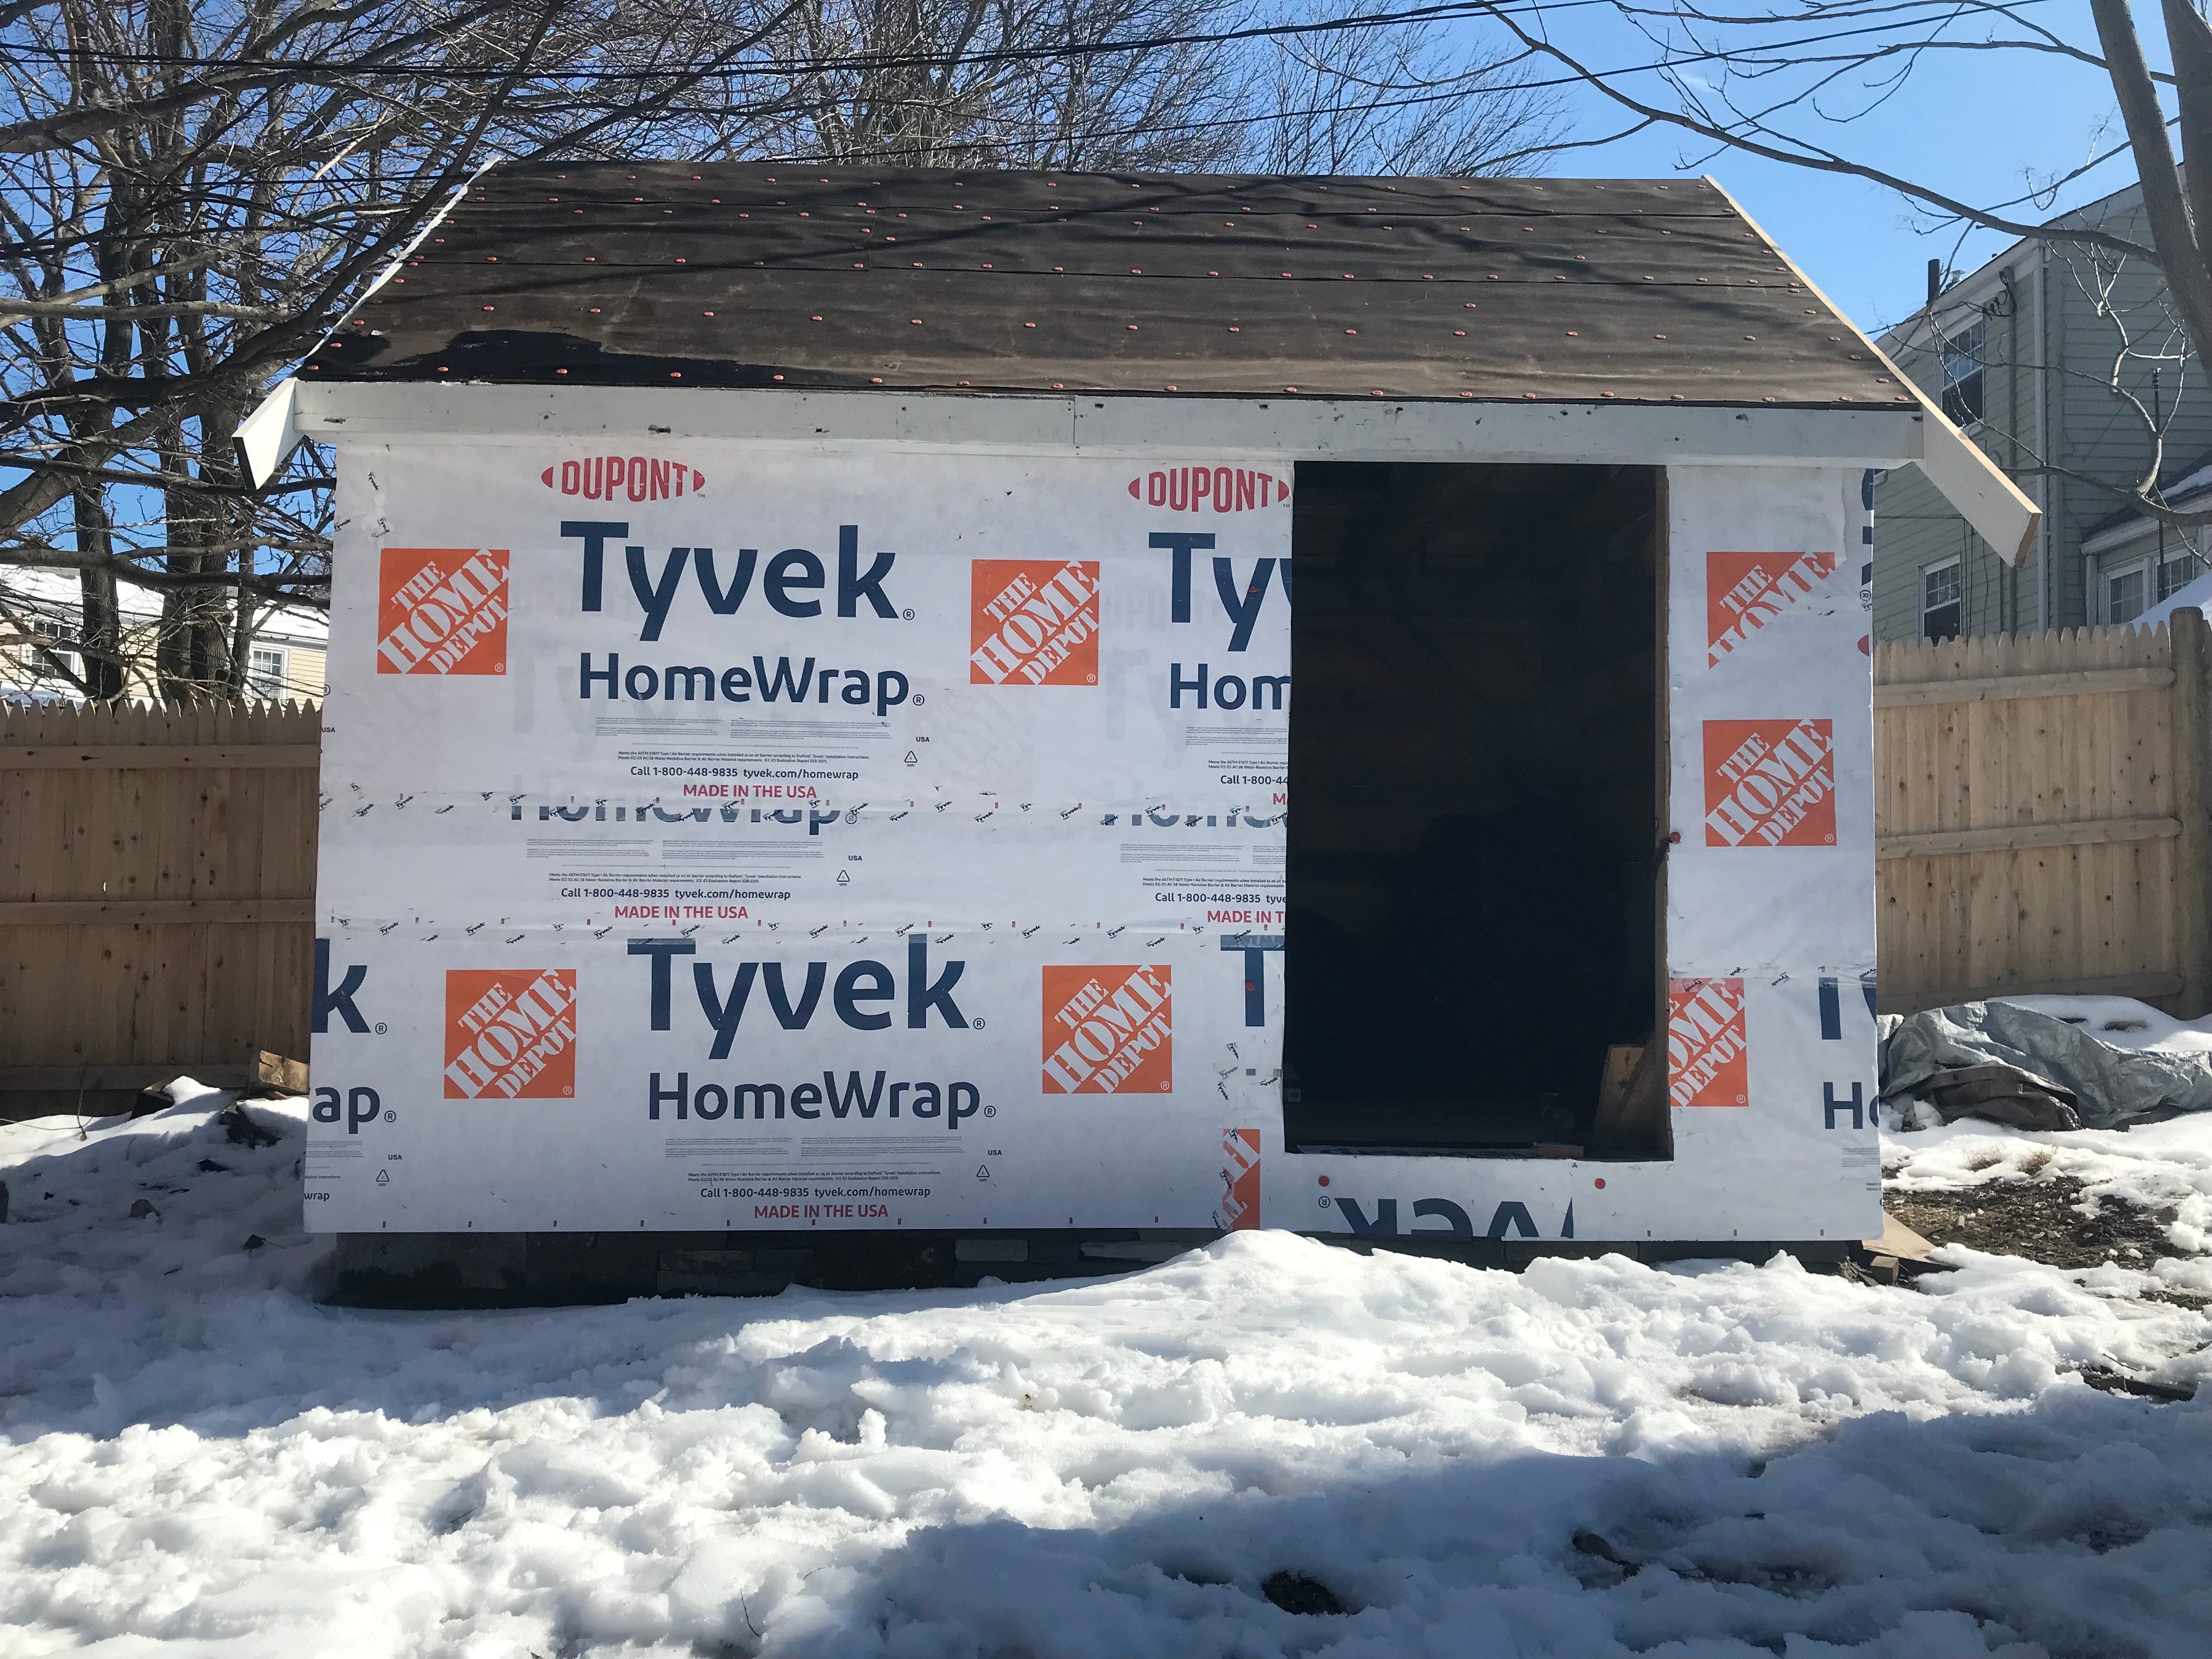
Currently the frame has sheathing, wind & water barriers, exterior trim, rake boards, corner boards, bed moulding, and a temporary roof barrier. The raised seam metal roof panels are being fabricated and will be delivered in the next two weeks. Woohoo!
As a recap:
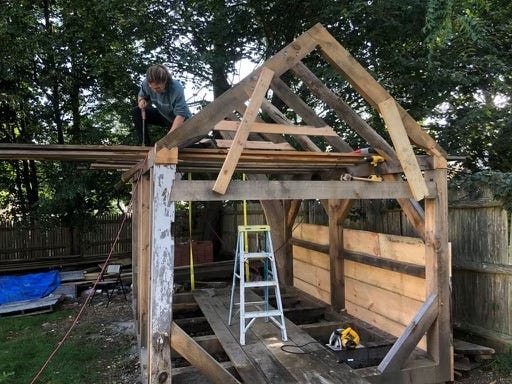
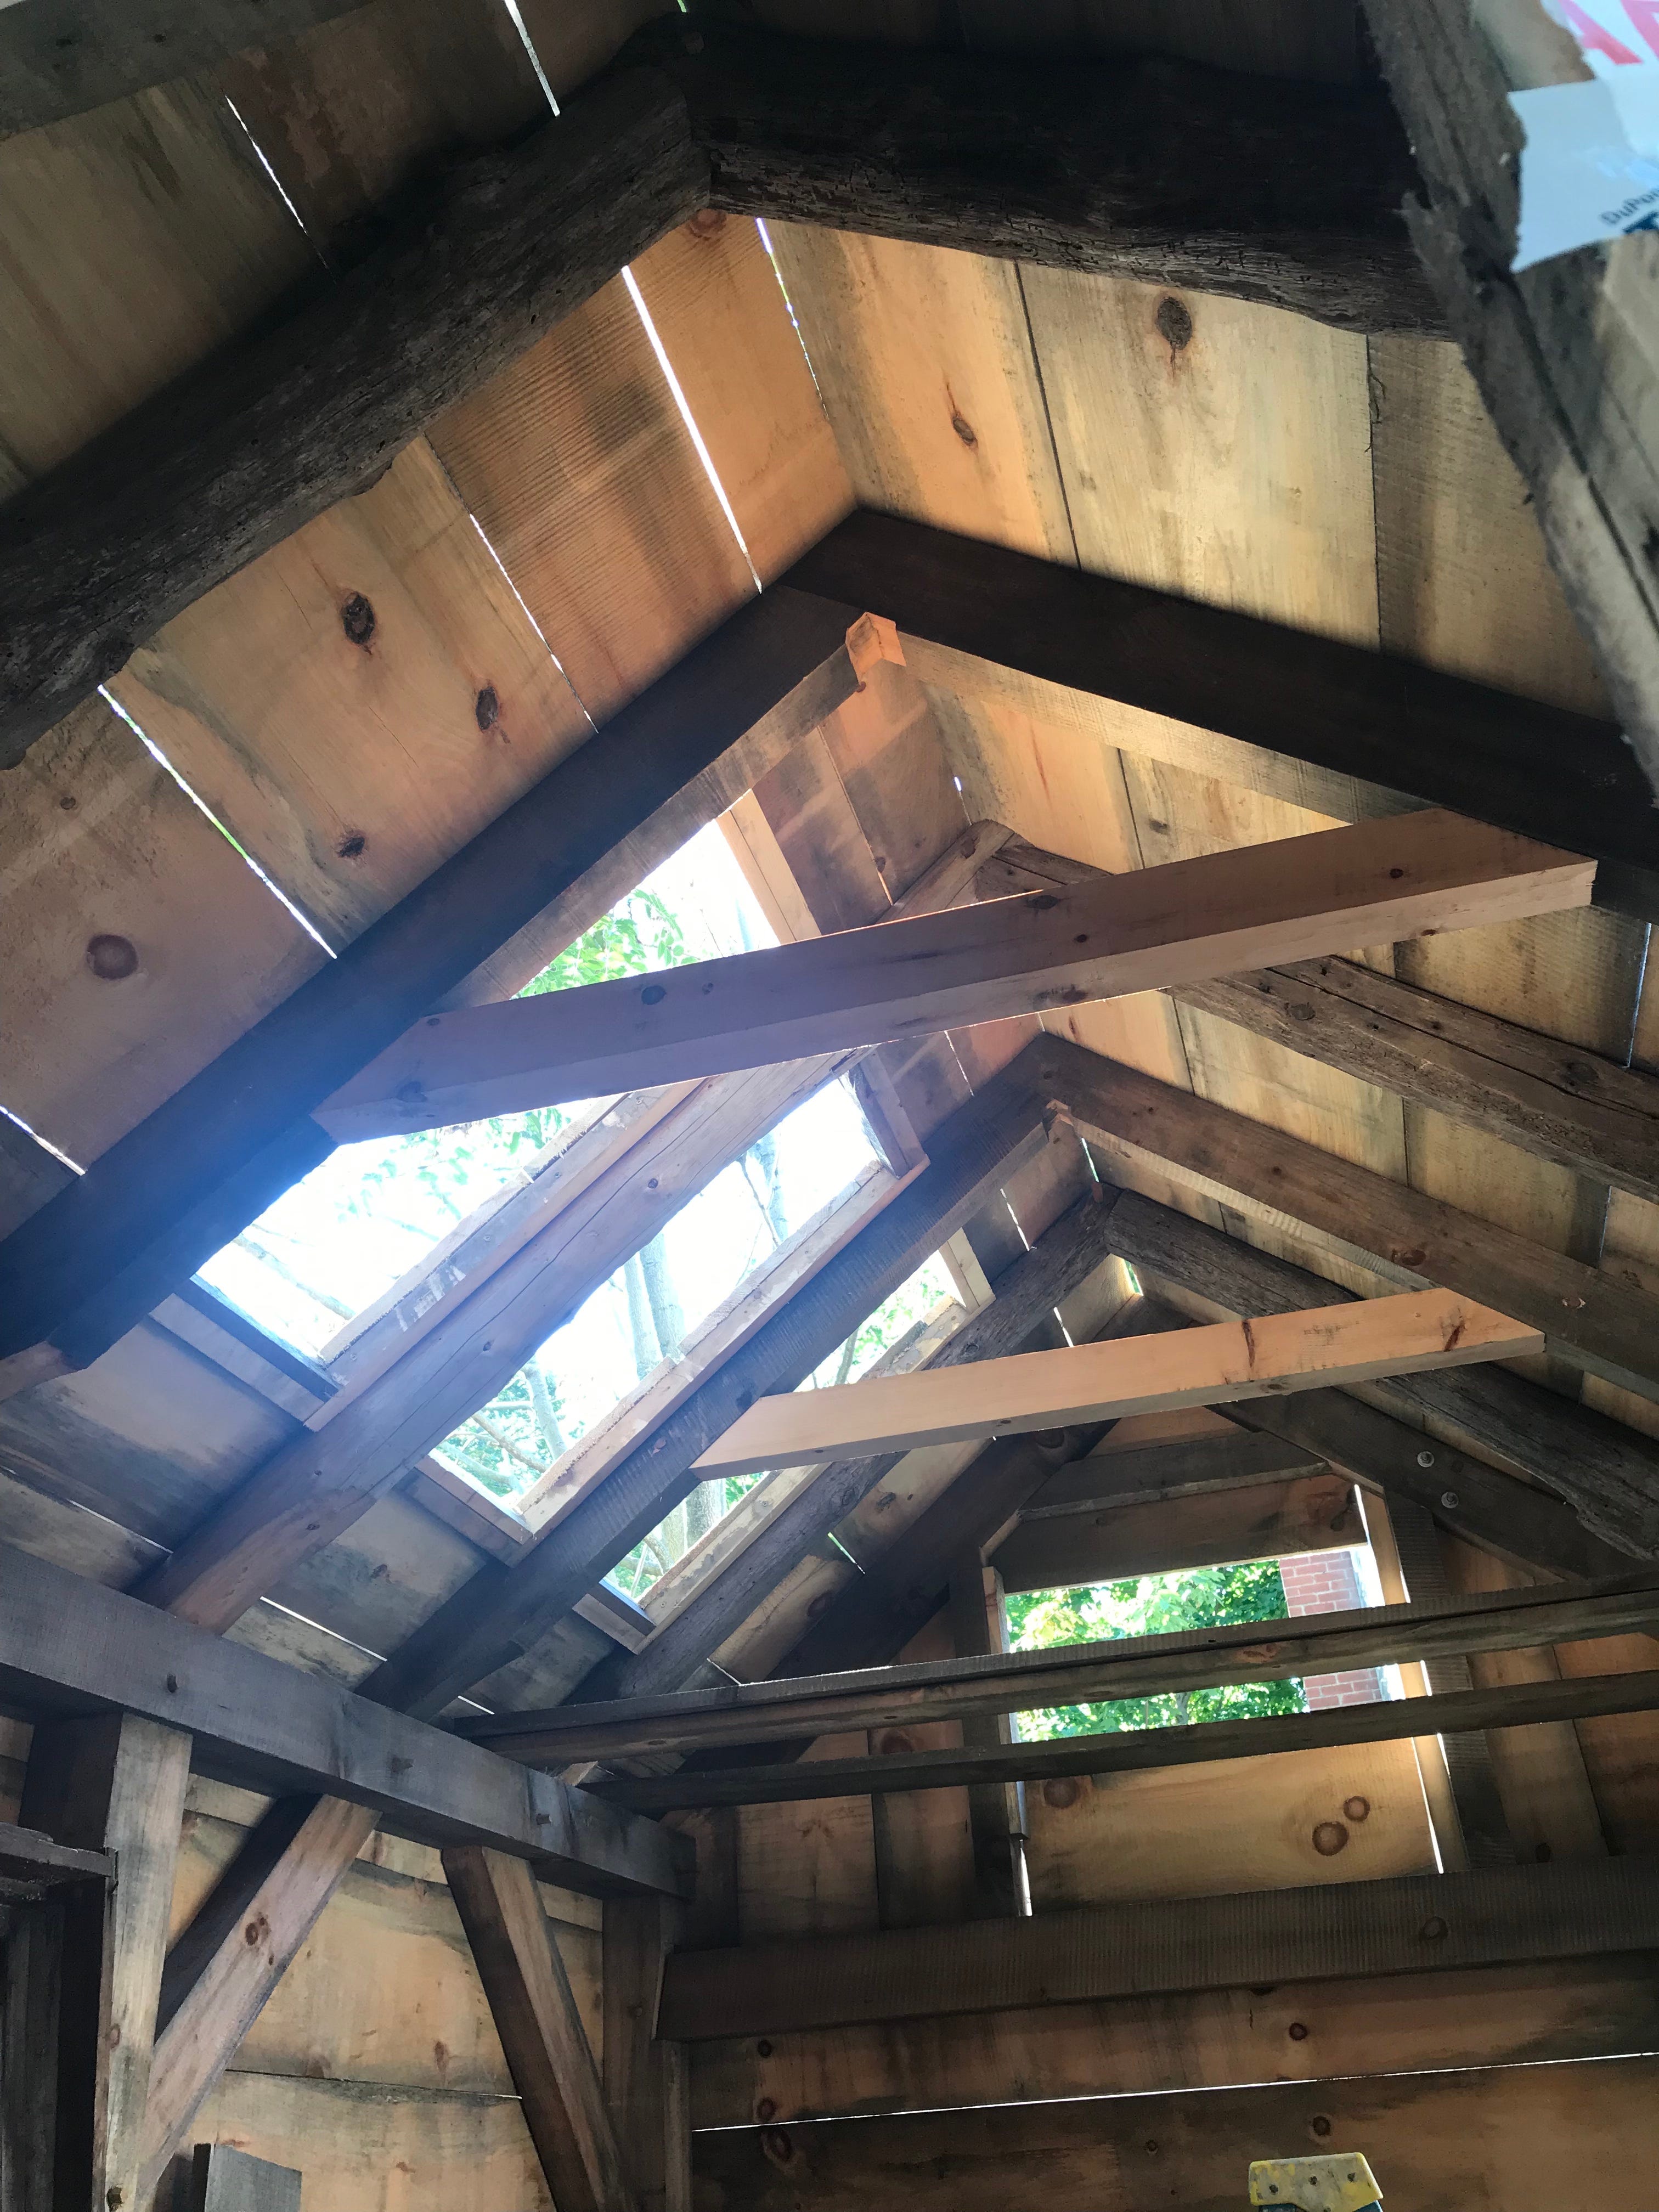
Rafters
A rafter is one of a series of wooden beams that extend from the ridge to the top plate, or eave. They are designed to support the roof deck, roof shingles, and its related loads.
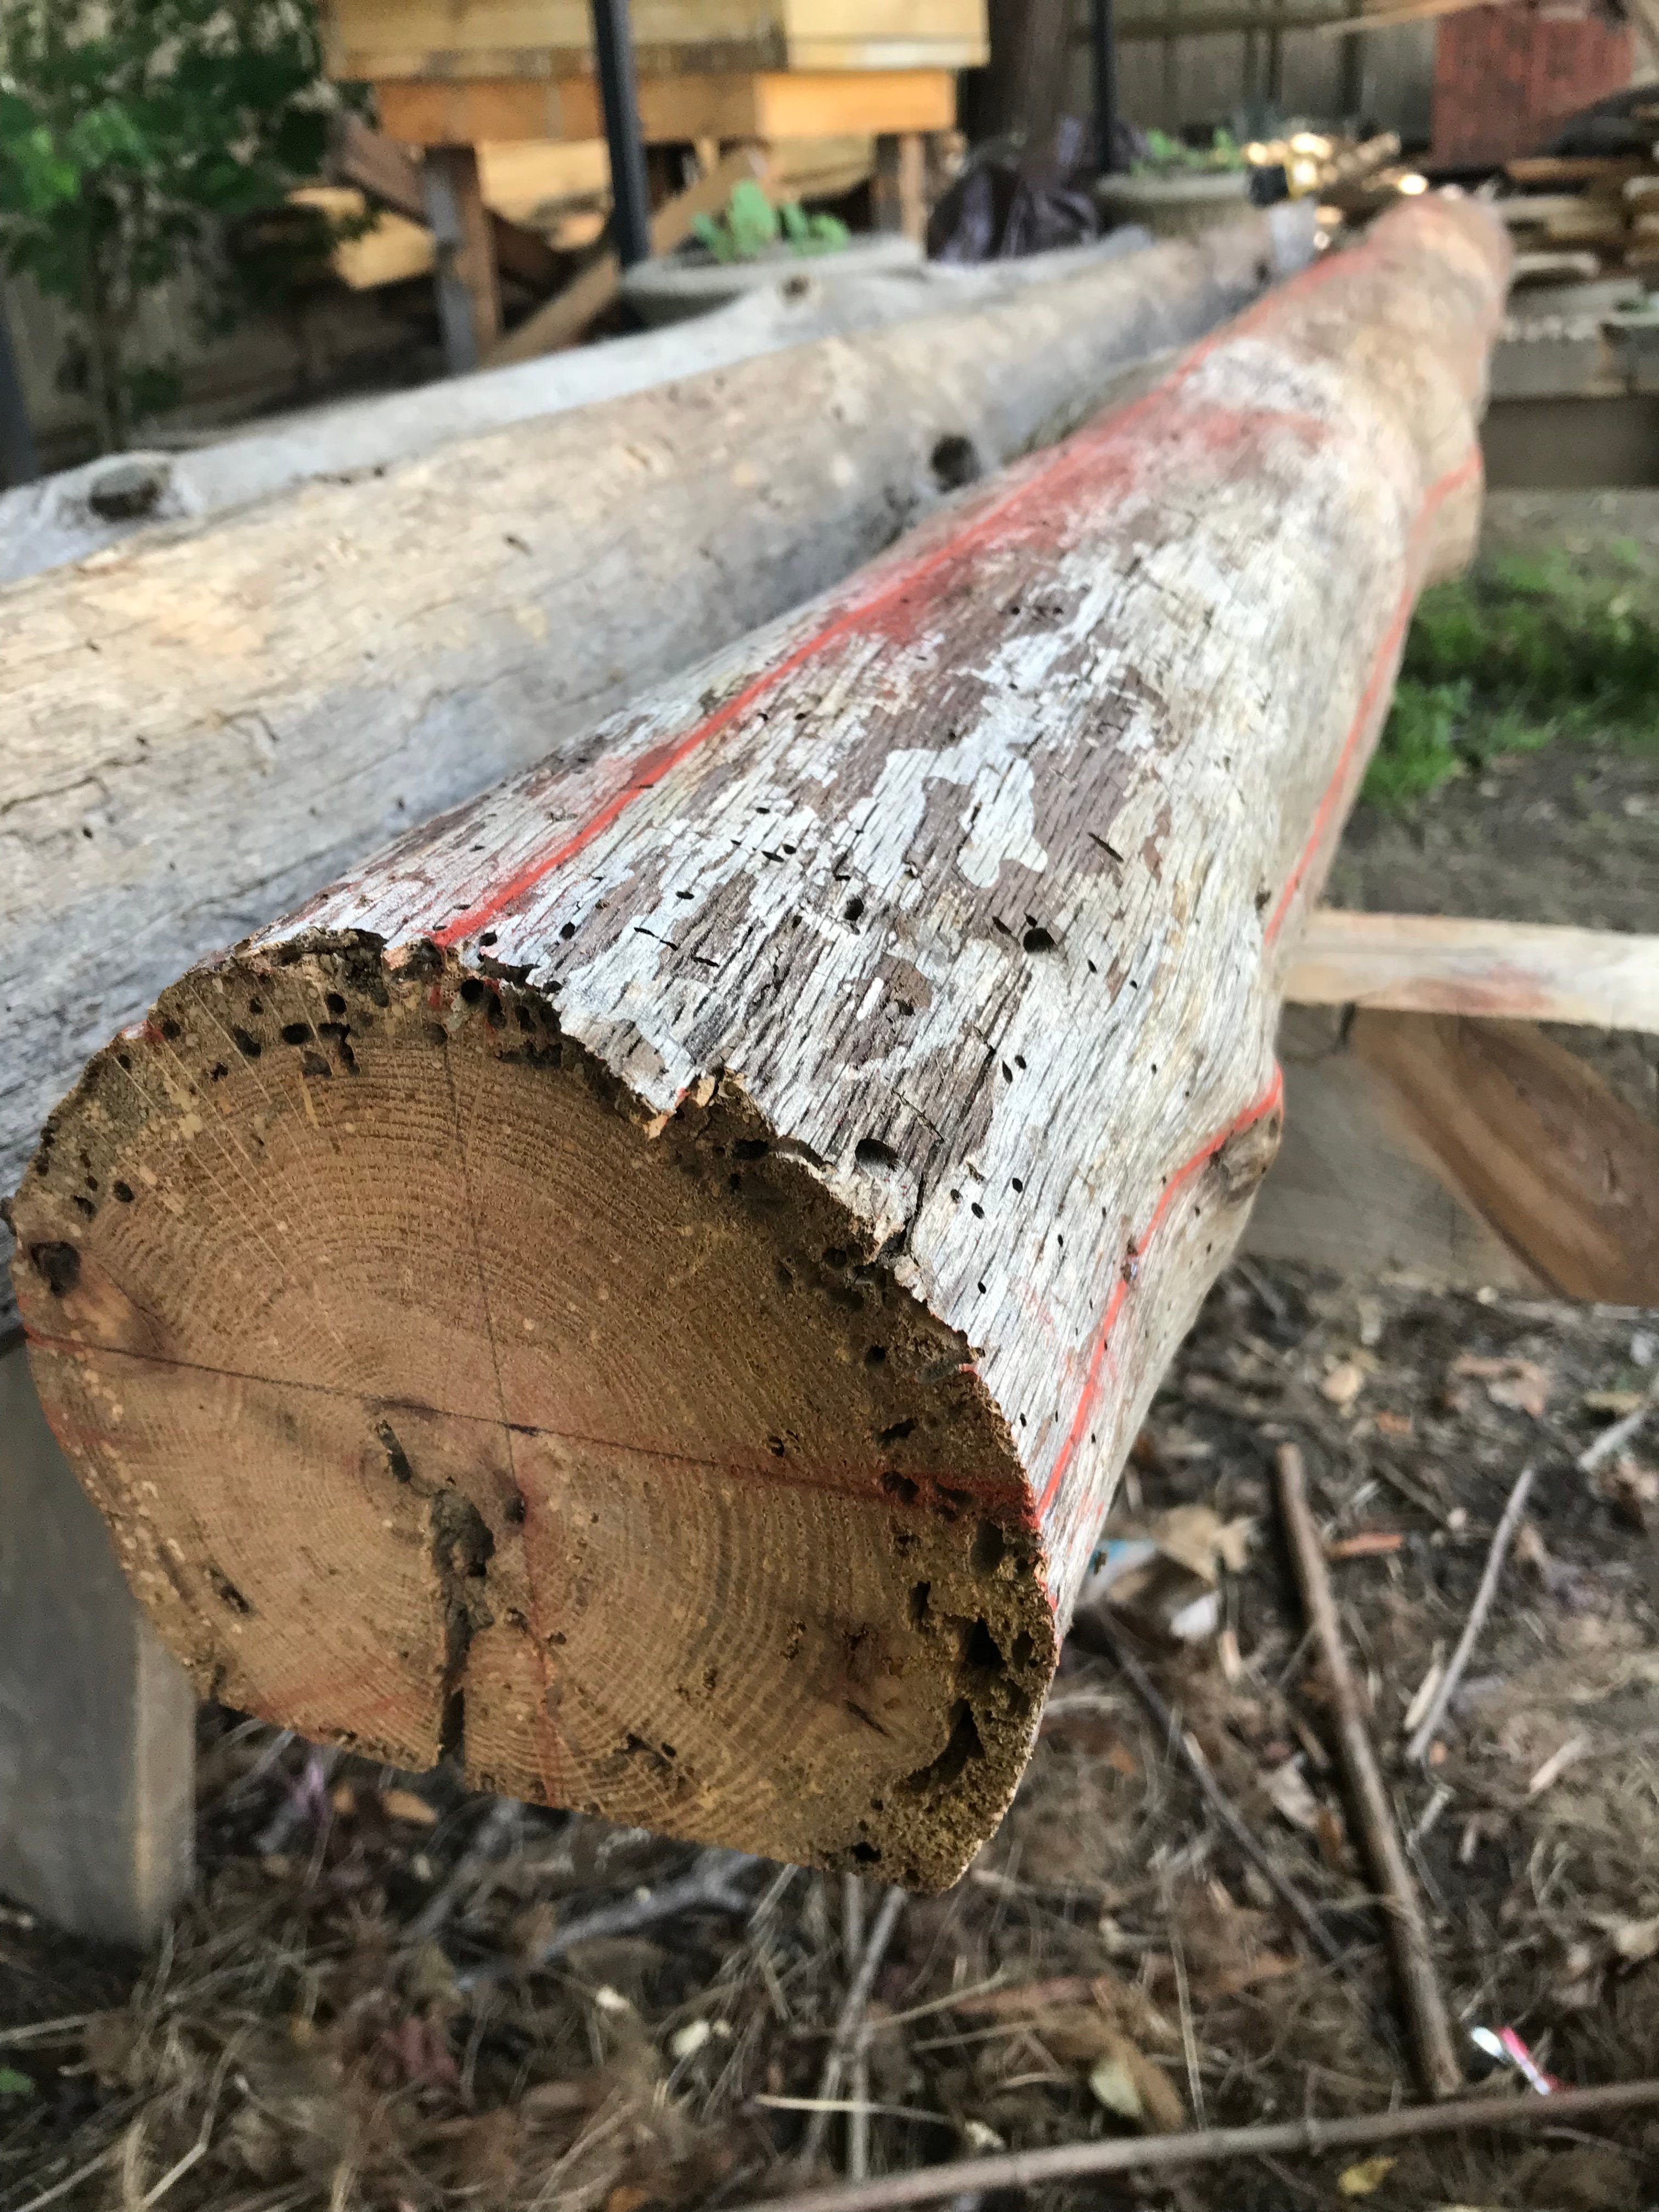
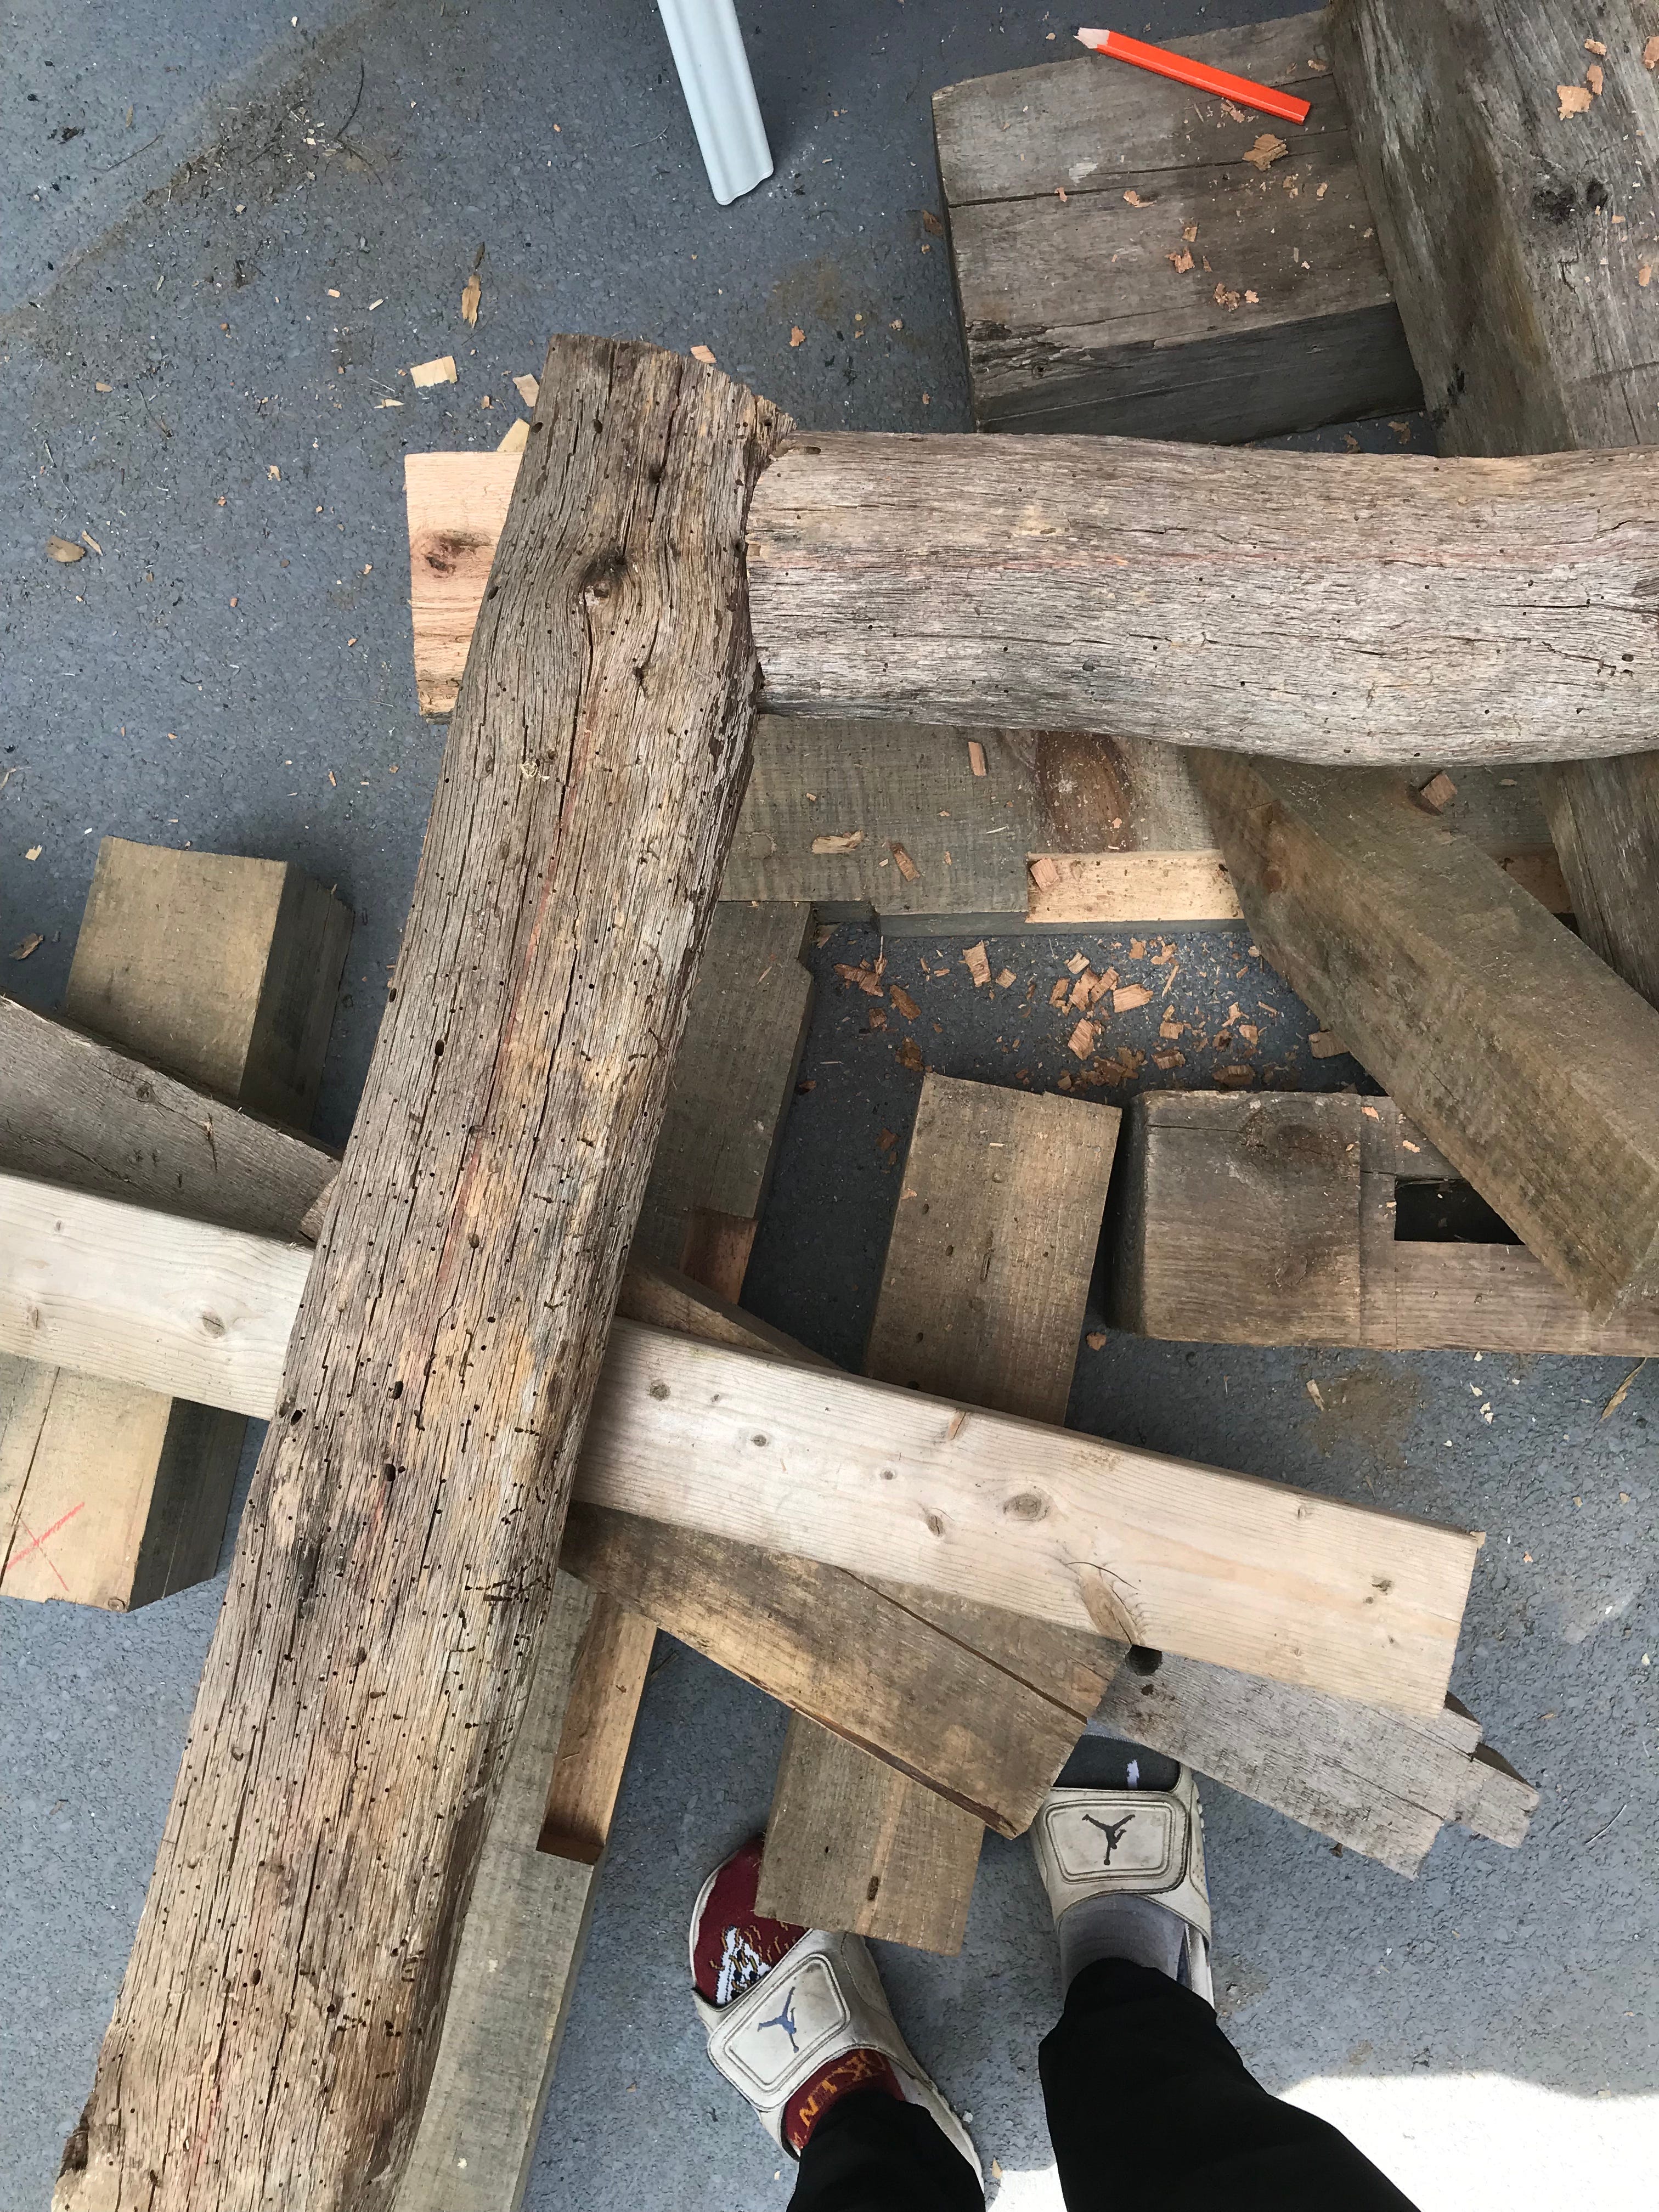
Most of the rafters I used in this frame were salvaged from an early 19th ce home in Plymouth which was slated for demolition. At that point in time, most homeowners didn’t waste energy hewing all four sides, but instead cleared only what was needed (one flat face). This was particularly the case for members not seen, such as floor joists.
Up until this point (not counting the cruck), I’ve employed the square rule method which requires timbers with four reasonably square sides to layout joinery.
How then, you might ask, does one seek the unification of two unruly and irregular timbers?
Scribe Rule
In order to fit these rafters together*, you can employ a method that dates back to the early Middle Ages. Scribing involves stacking the timbers on separate planes (leveled), and marking them, in advance of assembly, with enough accuracy to ensure a sound fit.1
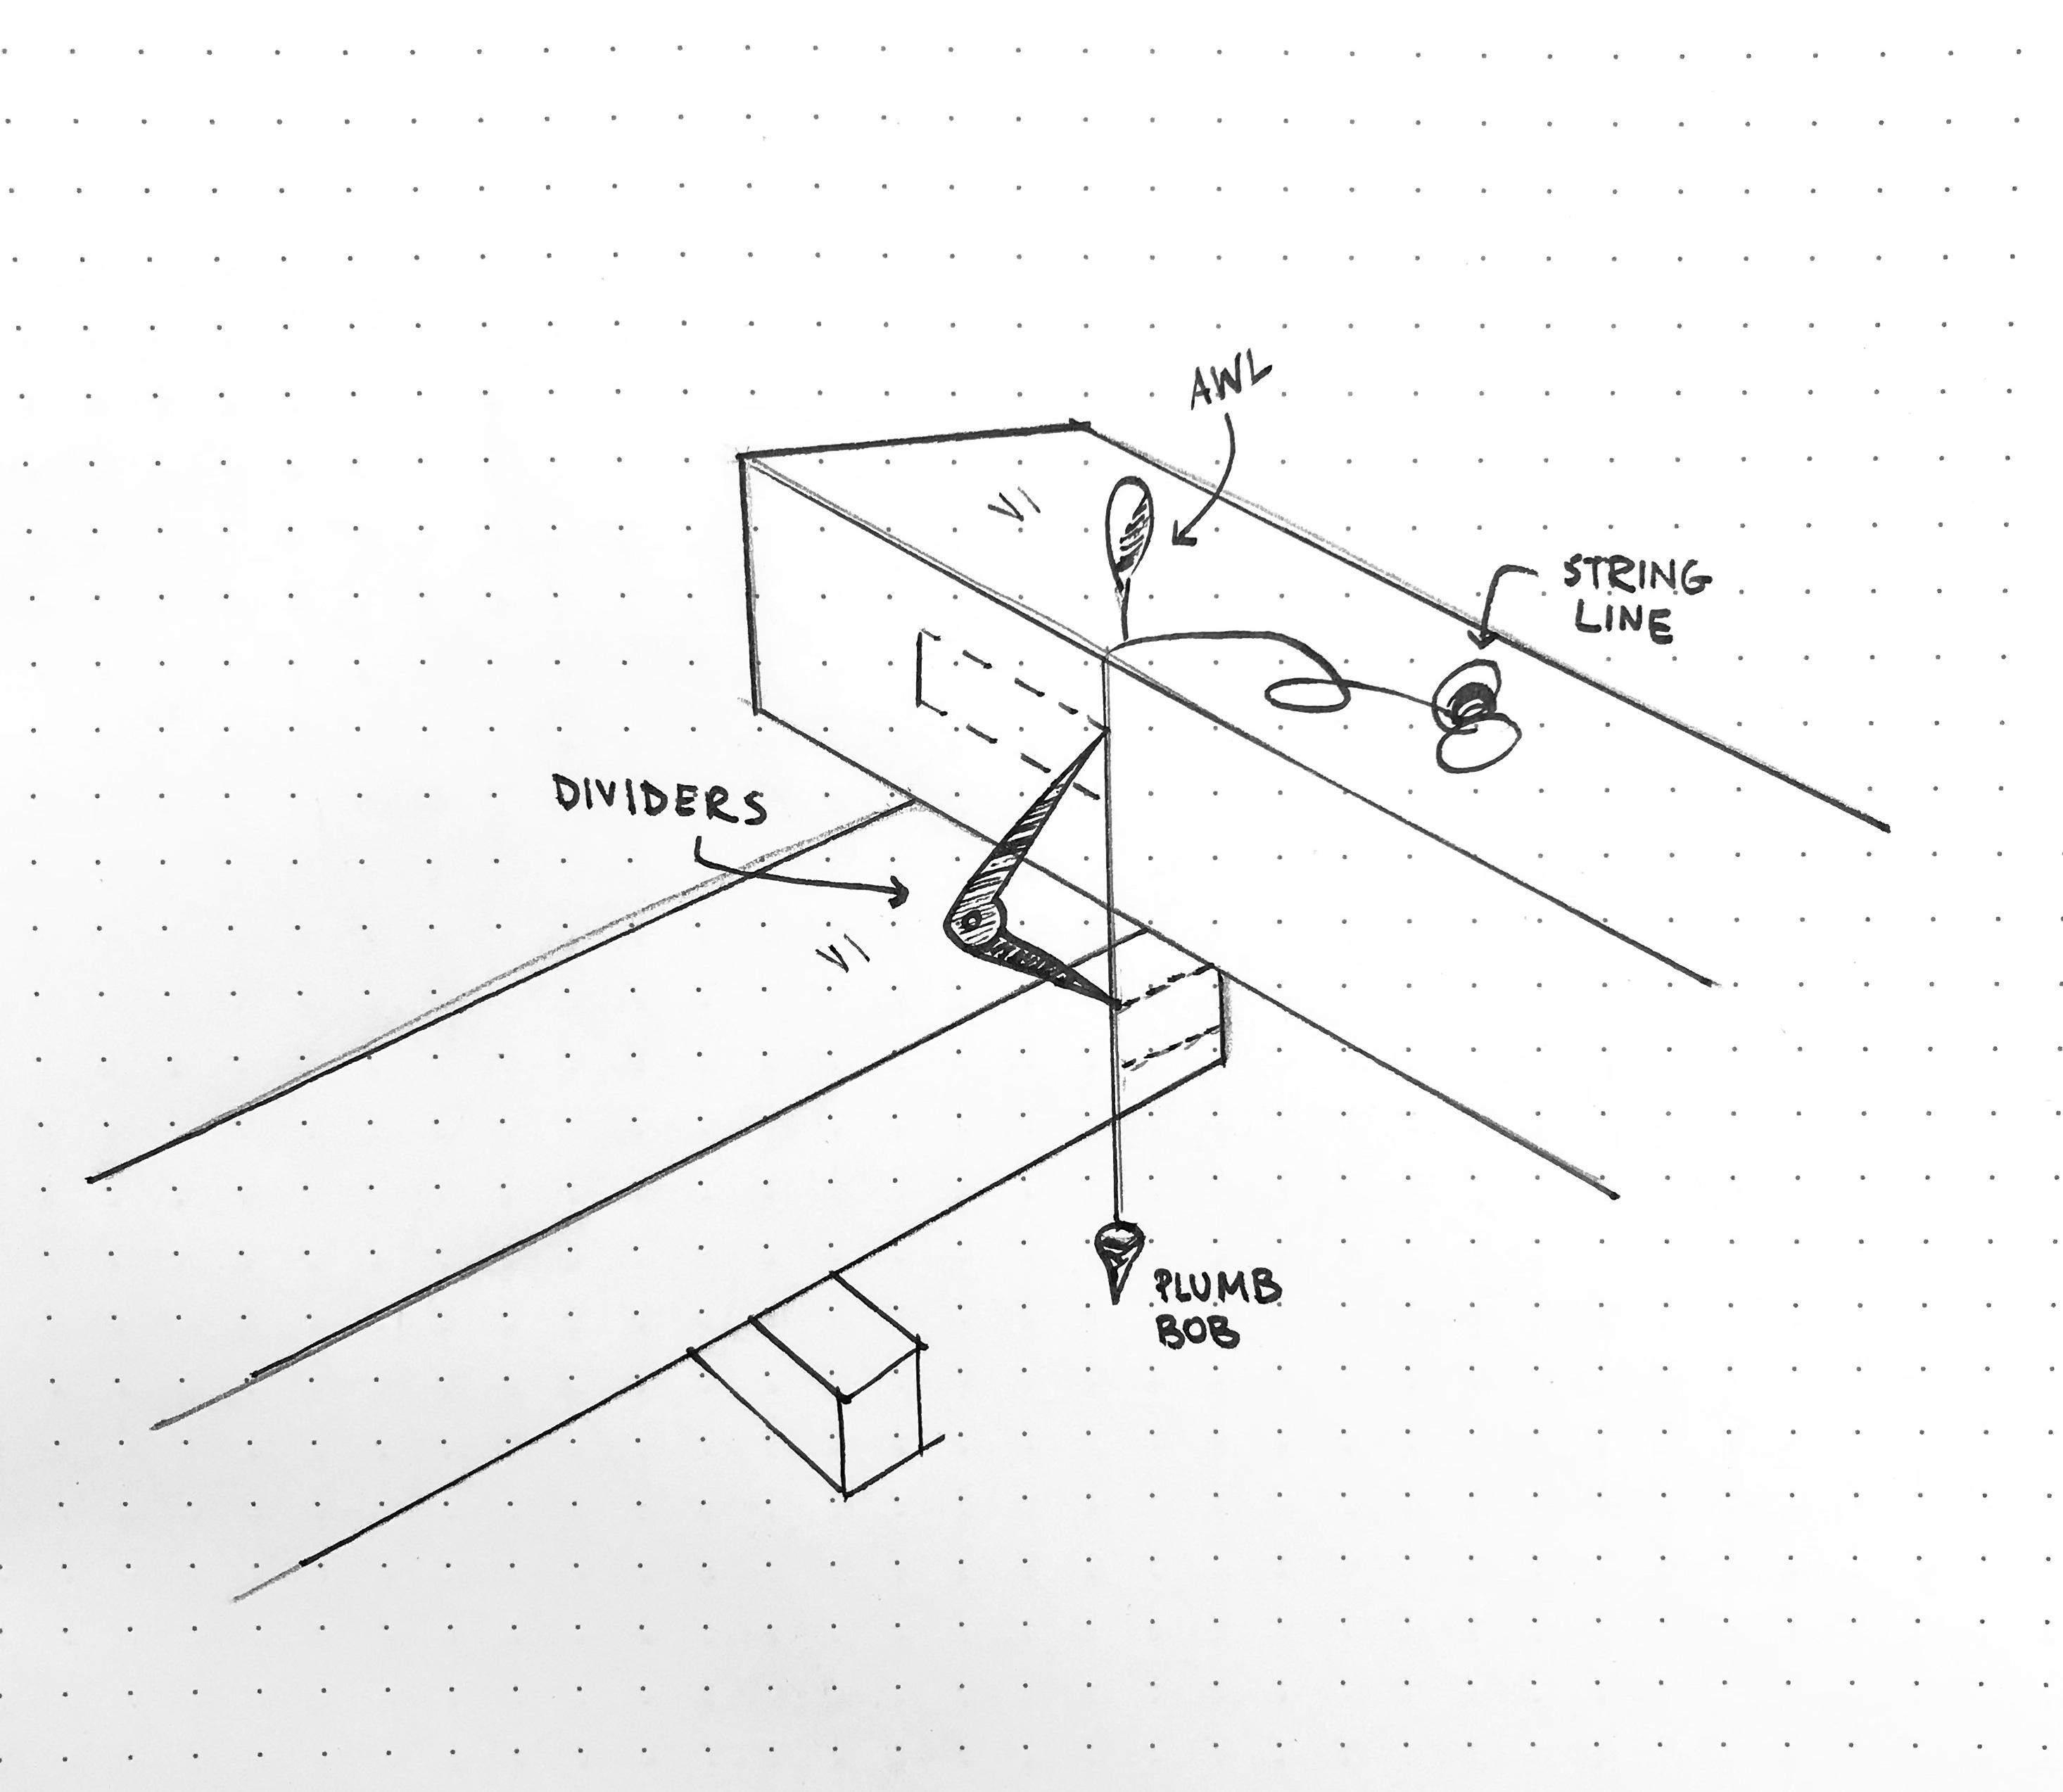
Using a level, dividers, plumb bob, framing square, and pencil (or awl), you can join any irregularly shaped timbers together.
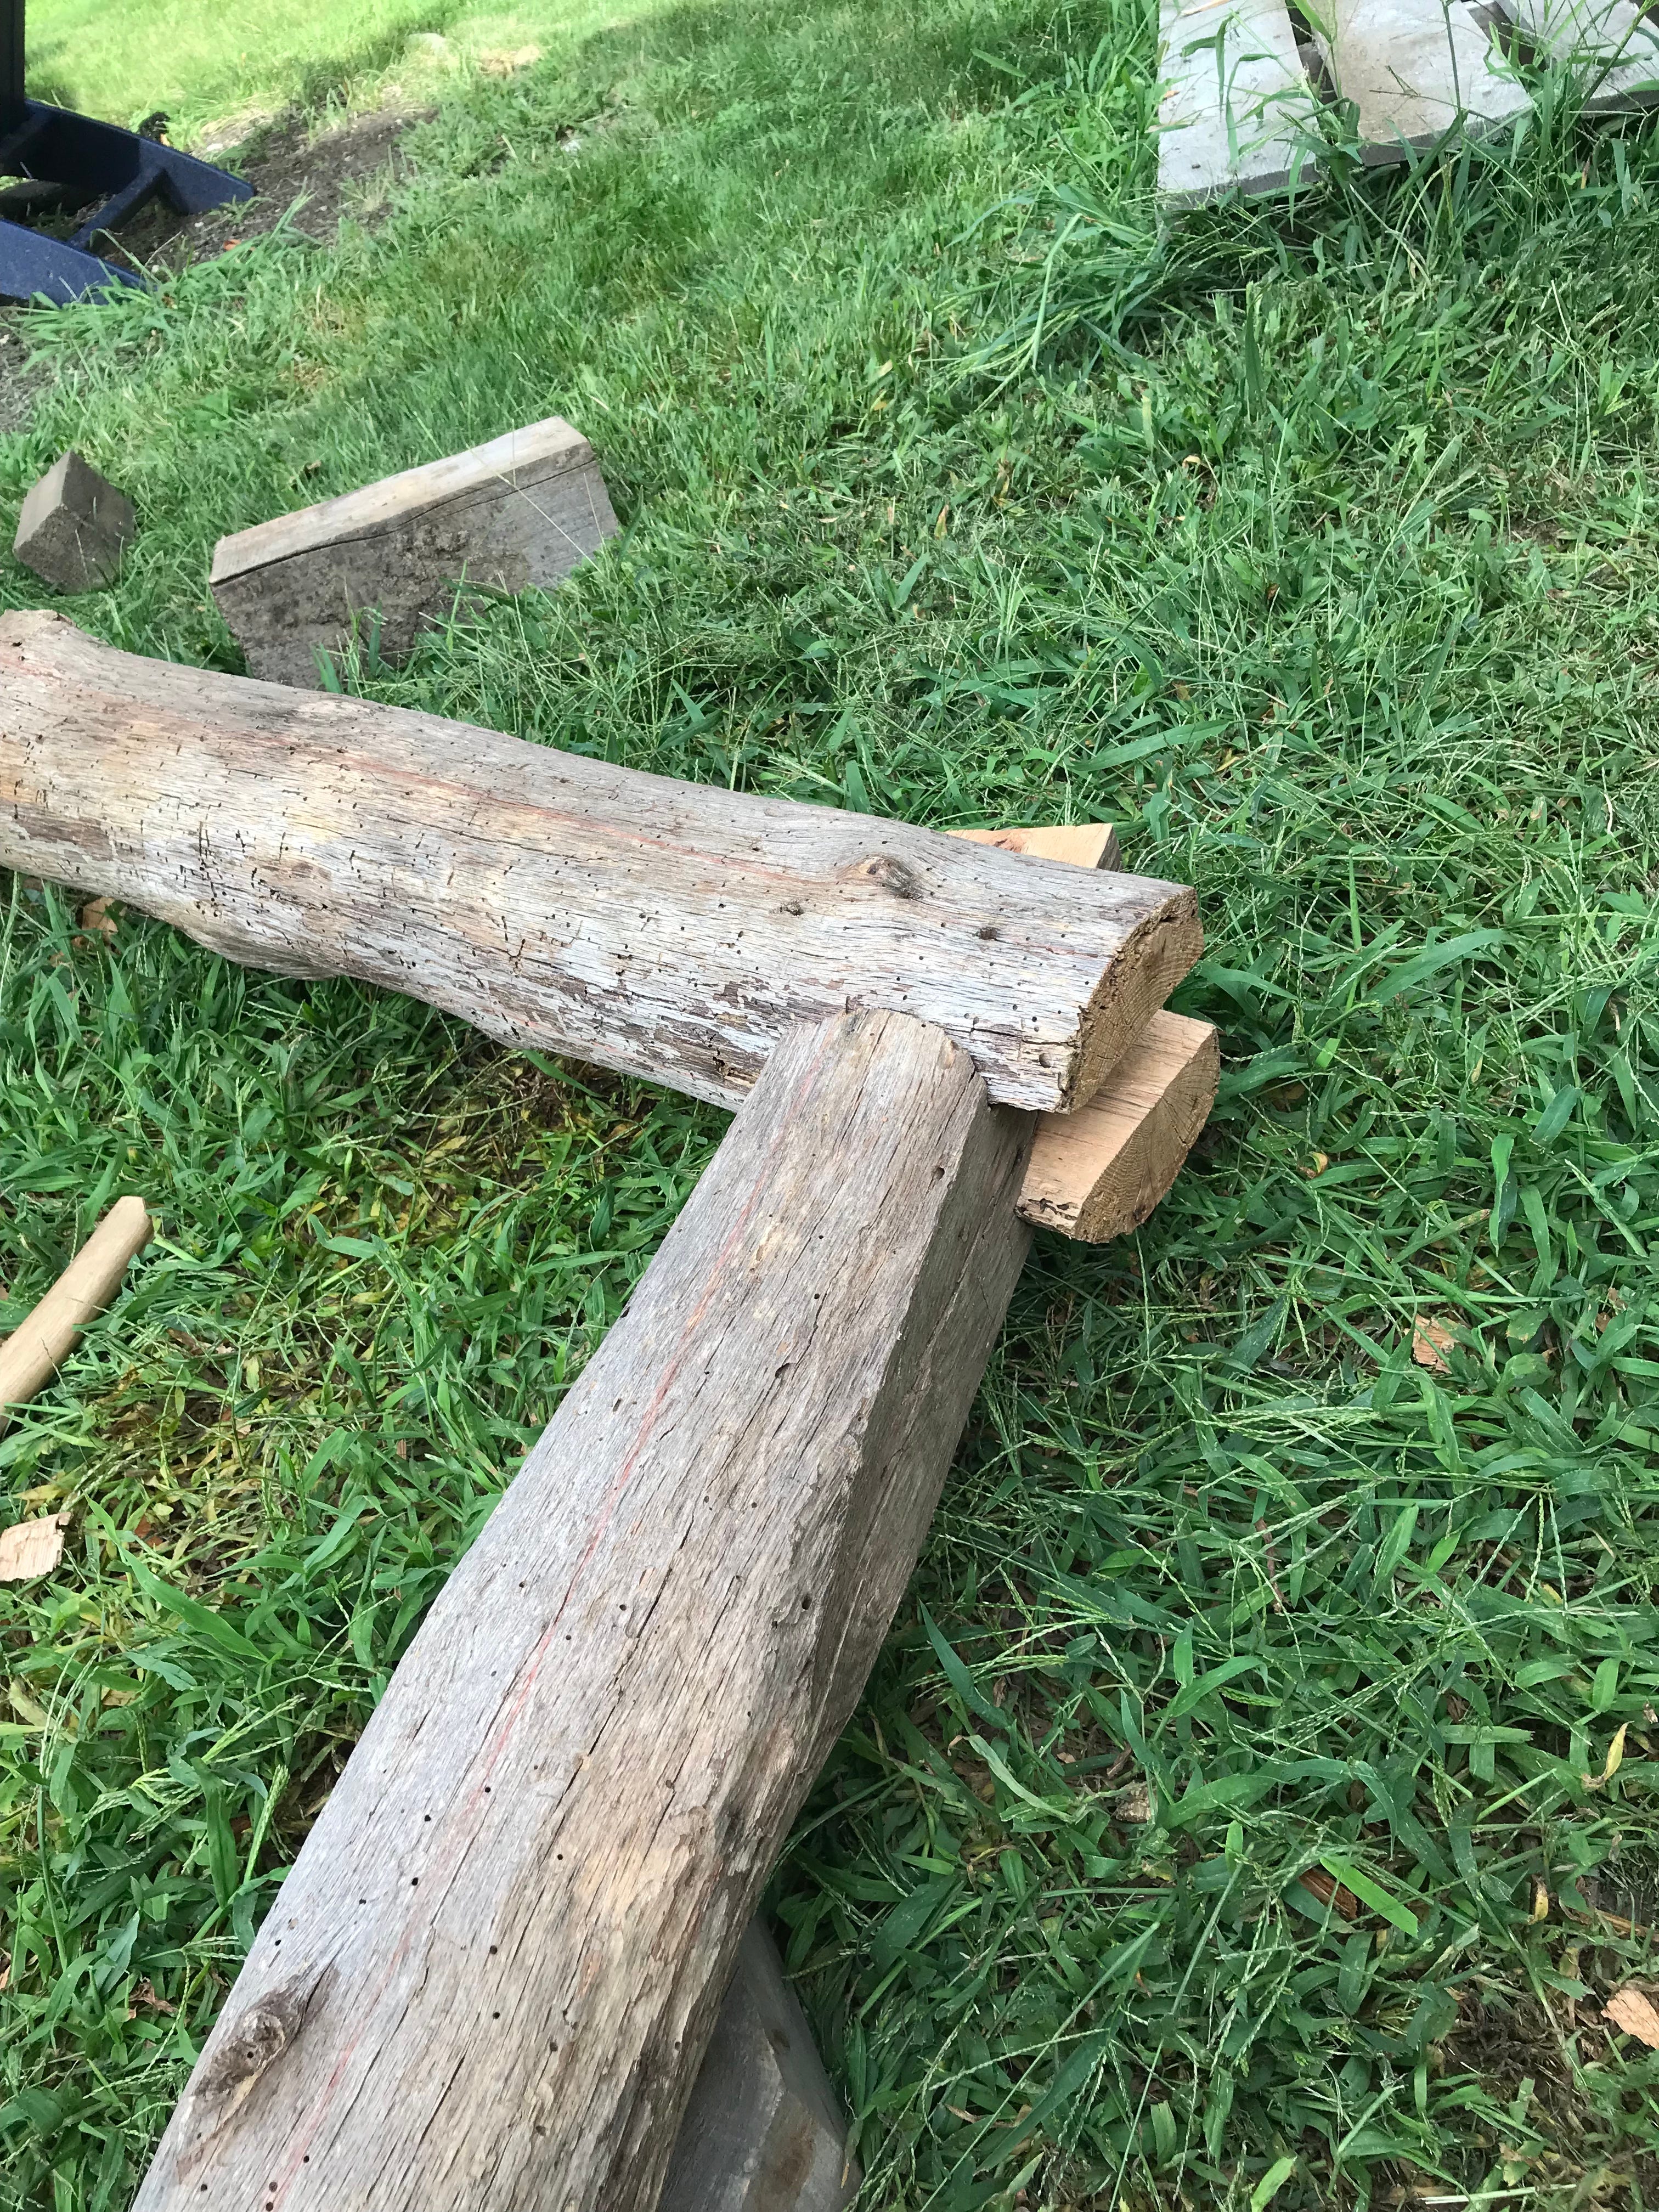
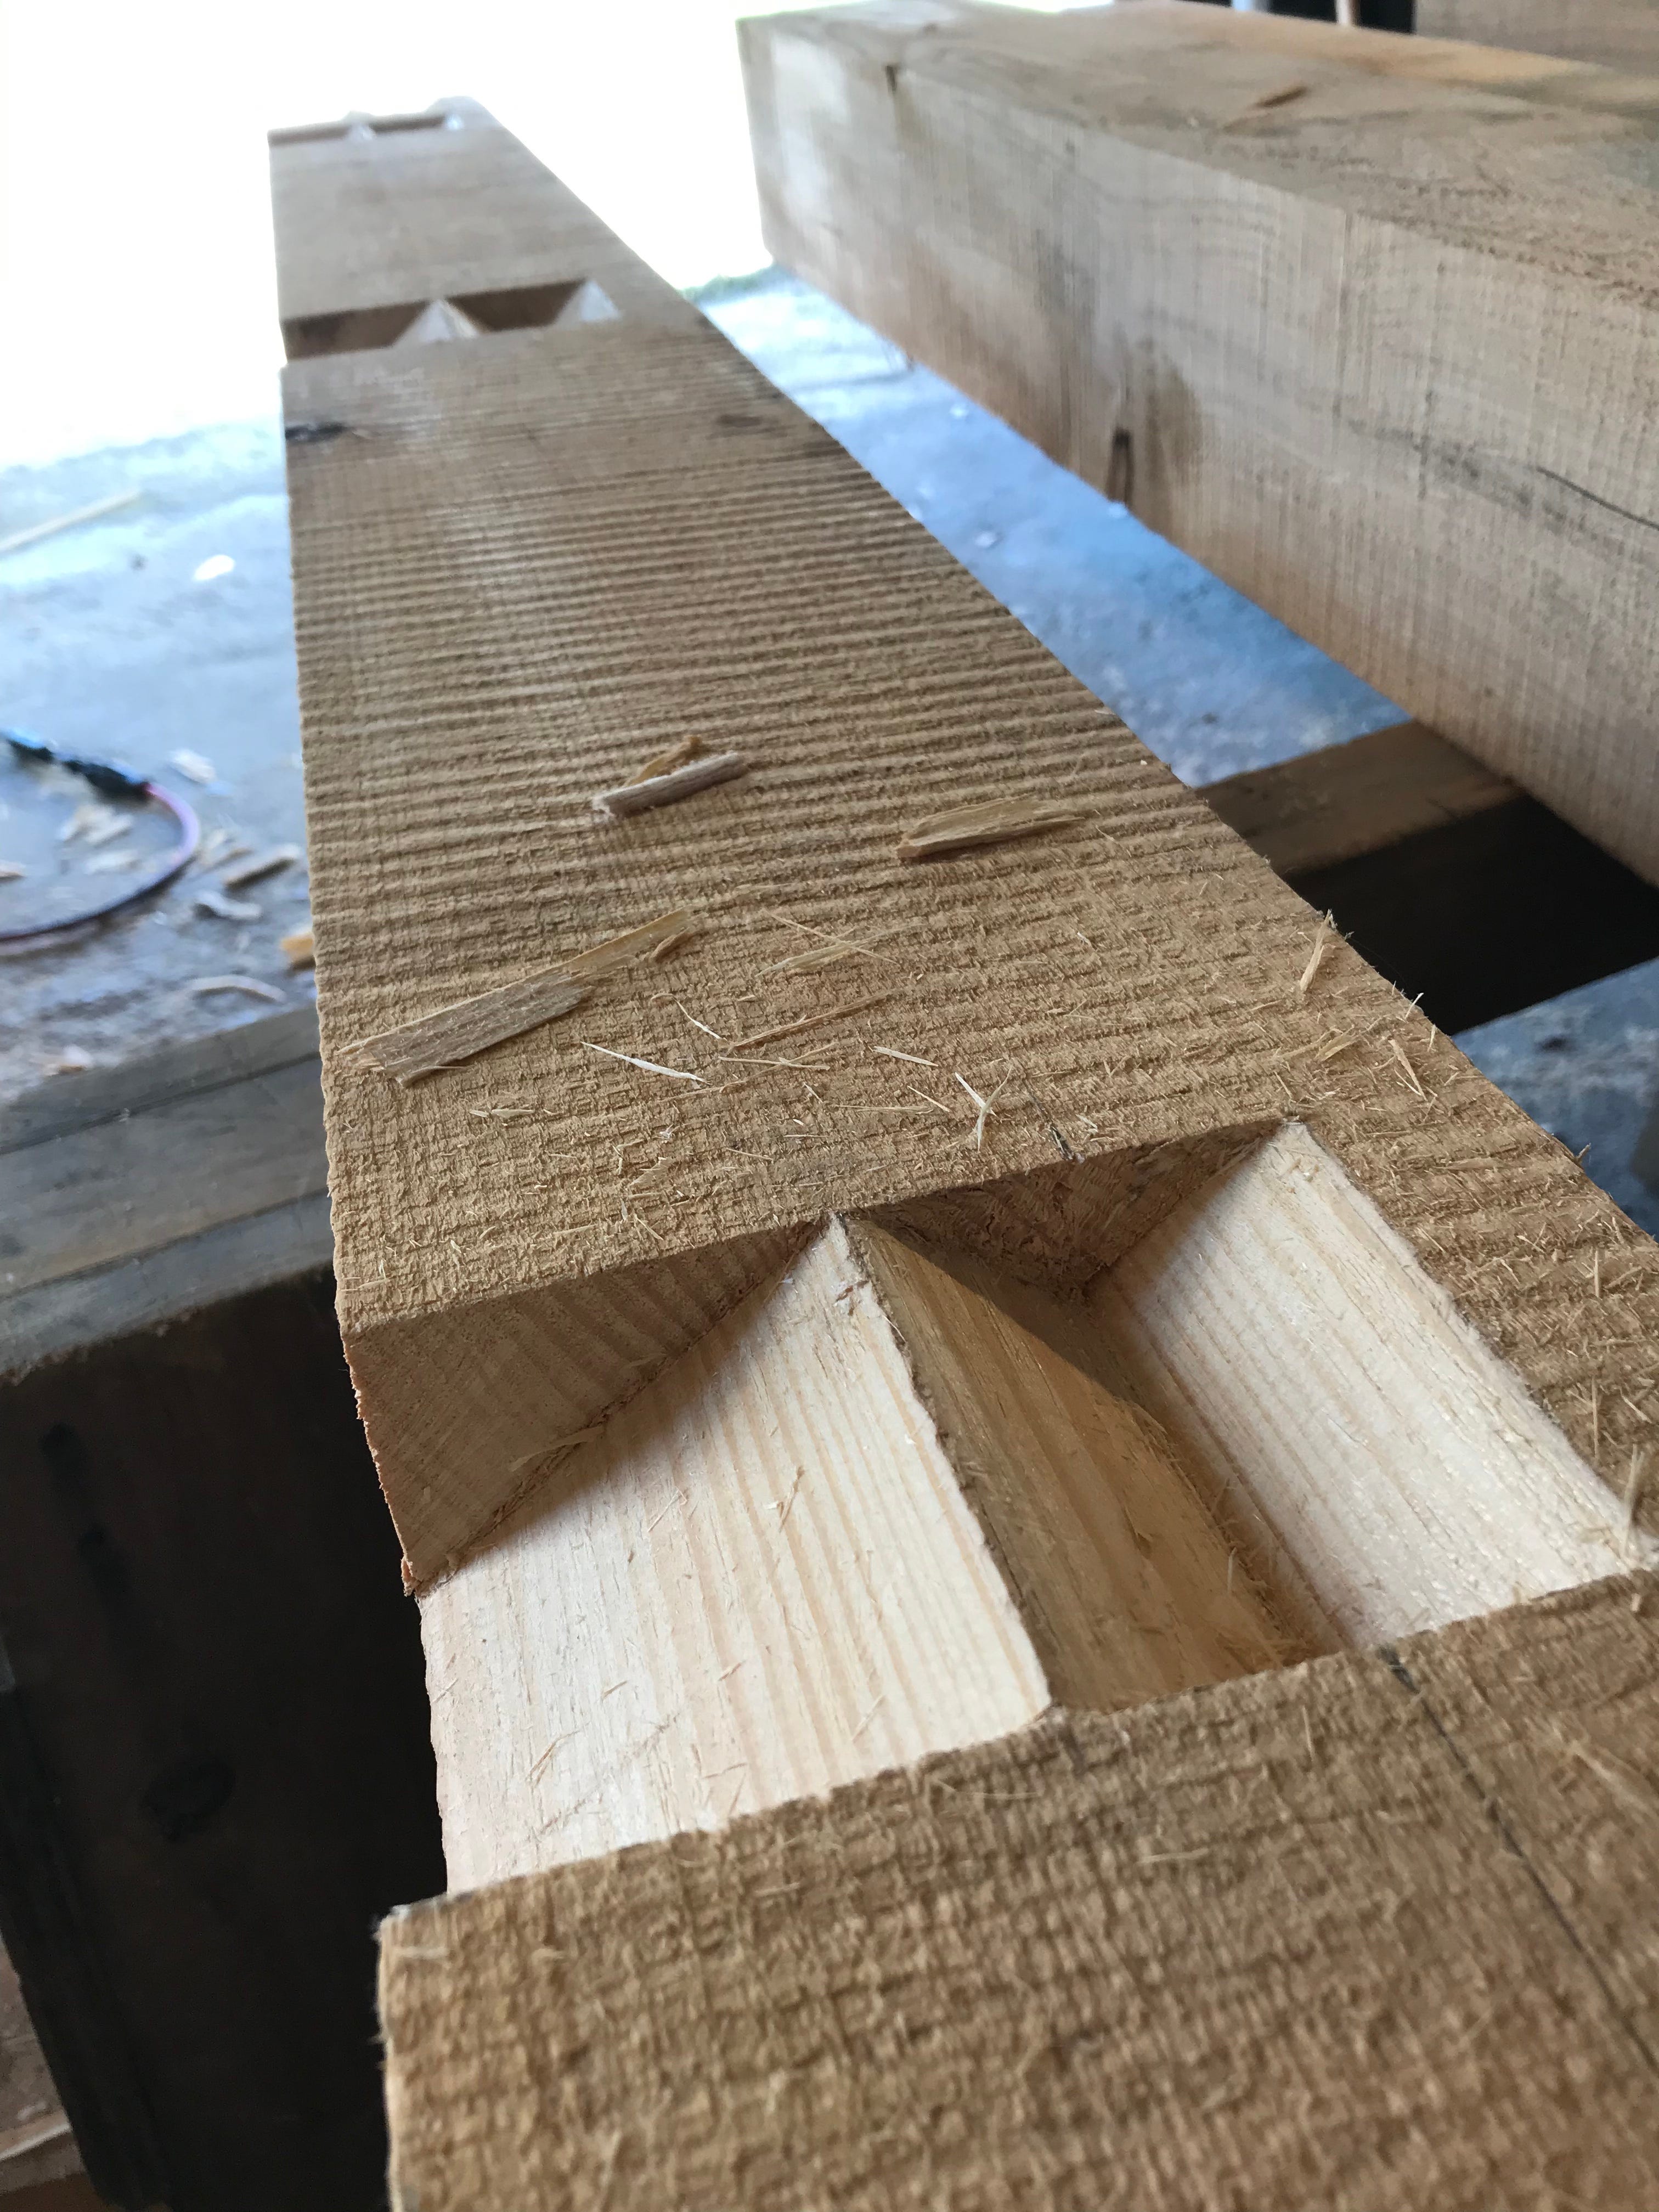
The timber above is the top plate. This joint, called a “bird’s mouth”, is where the rafter foot meets the top plate (eave wall). See here to view an isometric drawing.
Collar Ties
Collar ties are beams fastened between two rafters which prevents separation at the ridge caused by any uplift from the wind. They also prevent gravity and snow load from pushing the ridge down. However, collar ties should never be a replacement for tie beams!

Let the light shine in
In designing the interior space, light and privacy were two driving priorities. Skylights happily meet both these needs as long as the occasional bird watching you isn’t a bother.
Throughout the building process, several people have reached out when finding a “free” architectural element. One of these findings entailed several free windows on the side of a road. I picked them up, and they’ll serve well for the skylights.
The rest of the windows I sourced from Michael Burrey, who has salvaged a prolific number of windows from the 18th and 19th centuries.
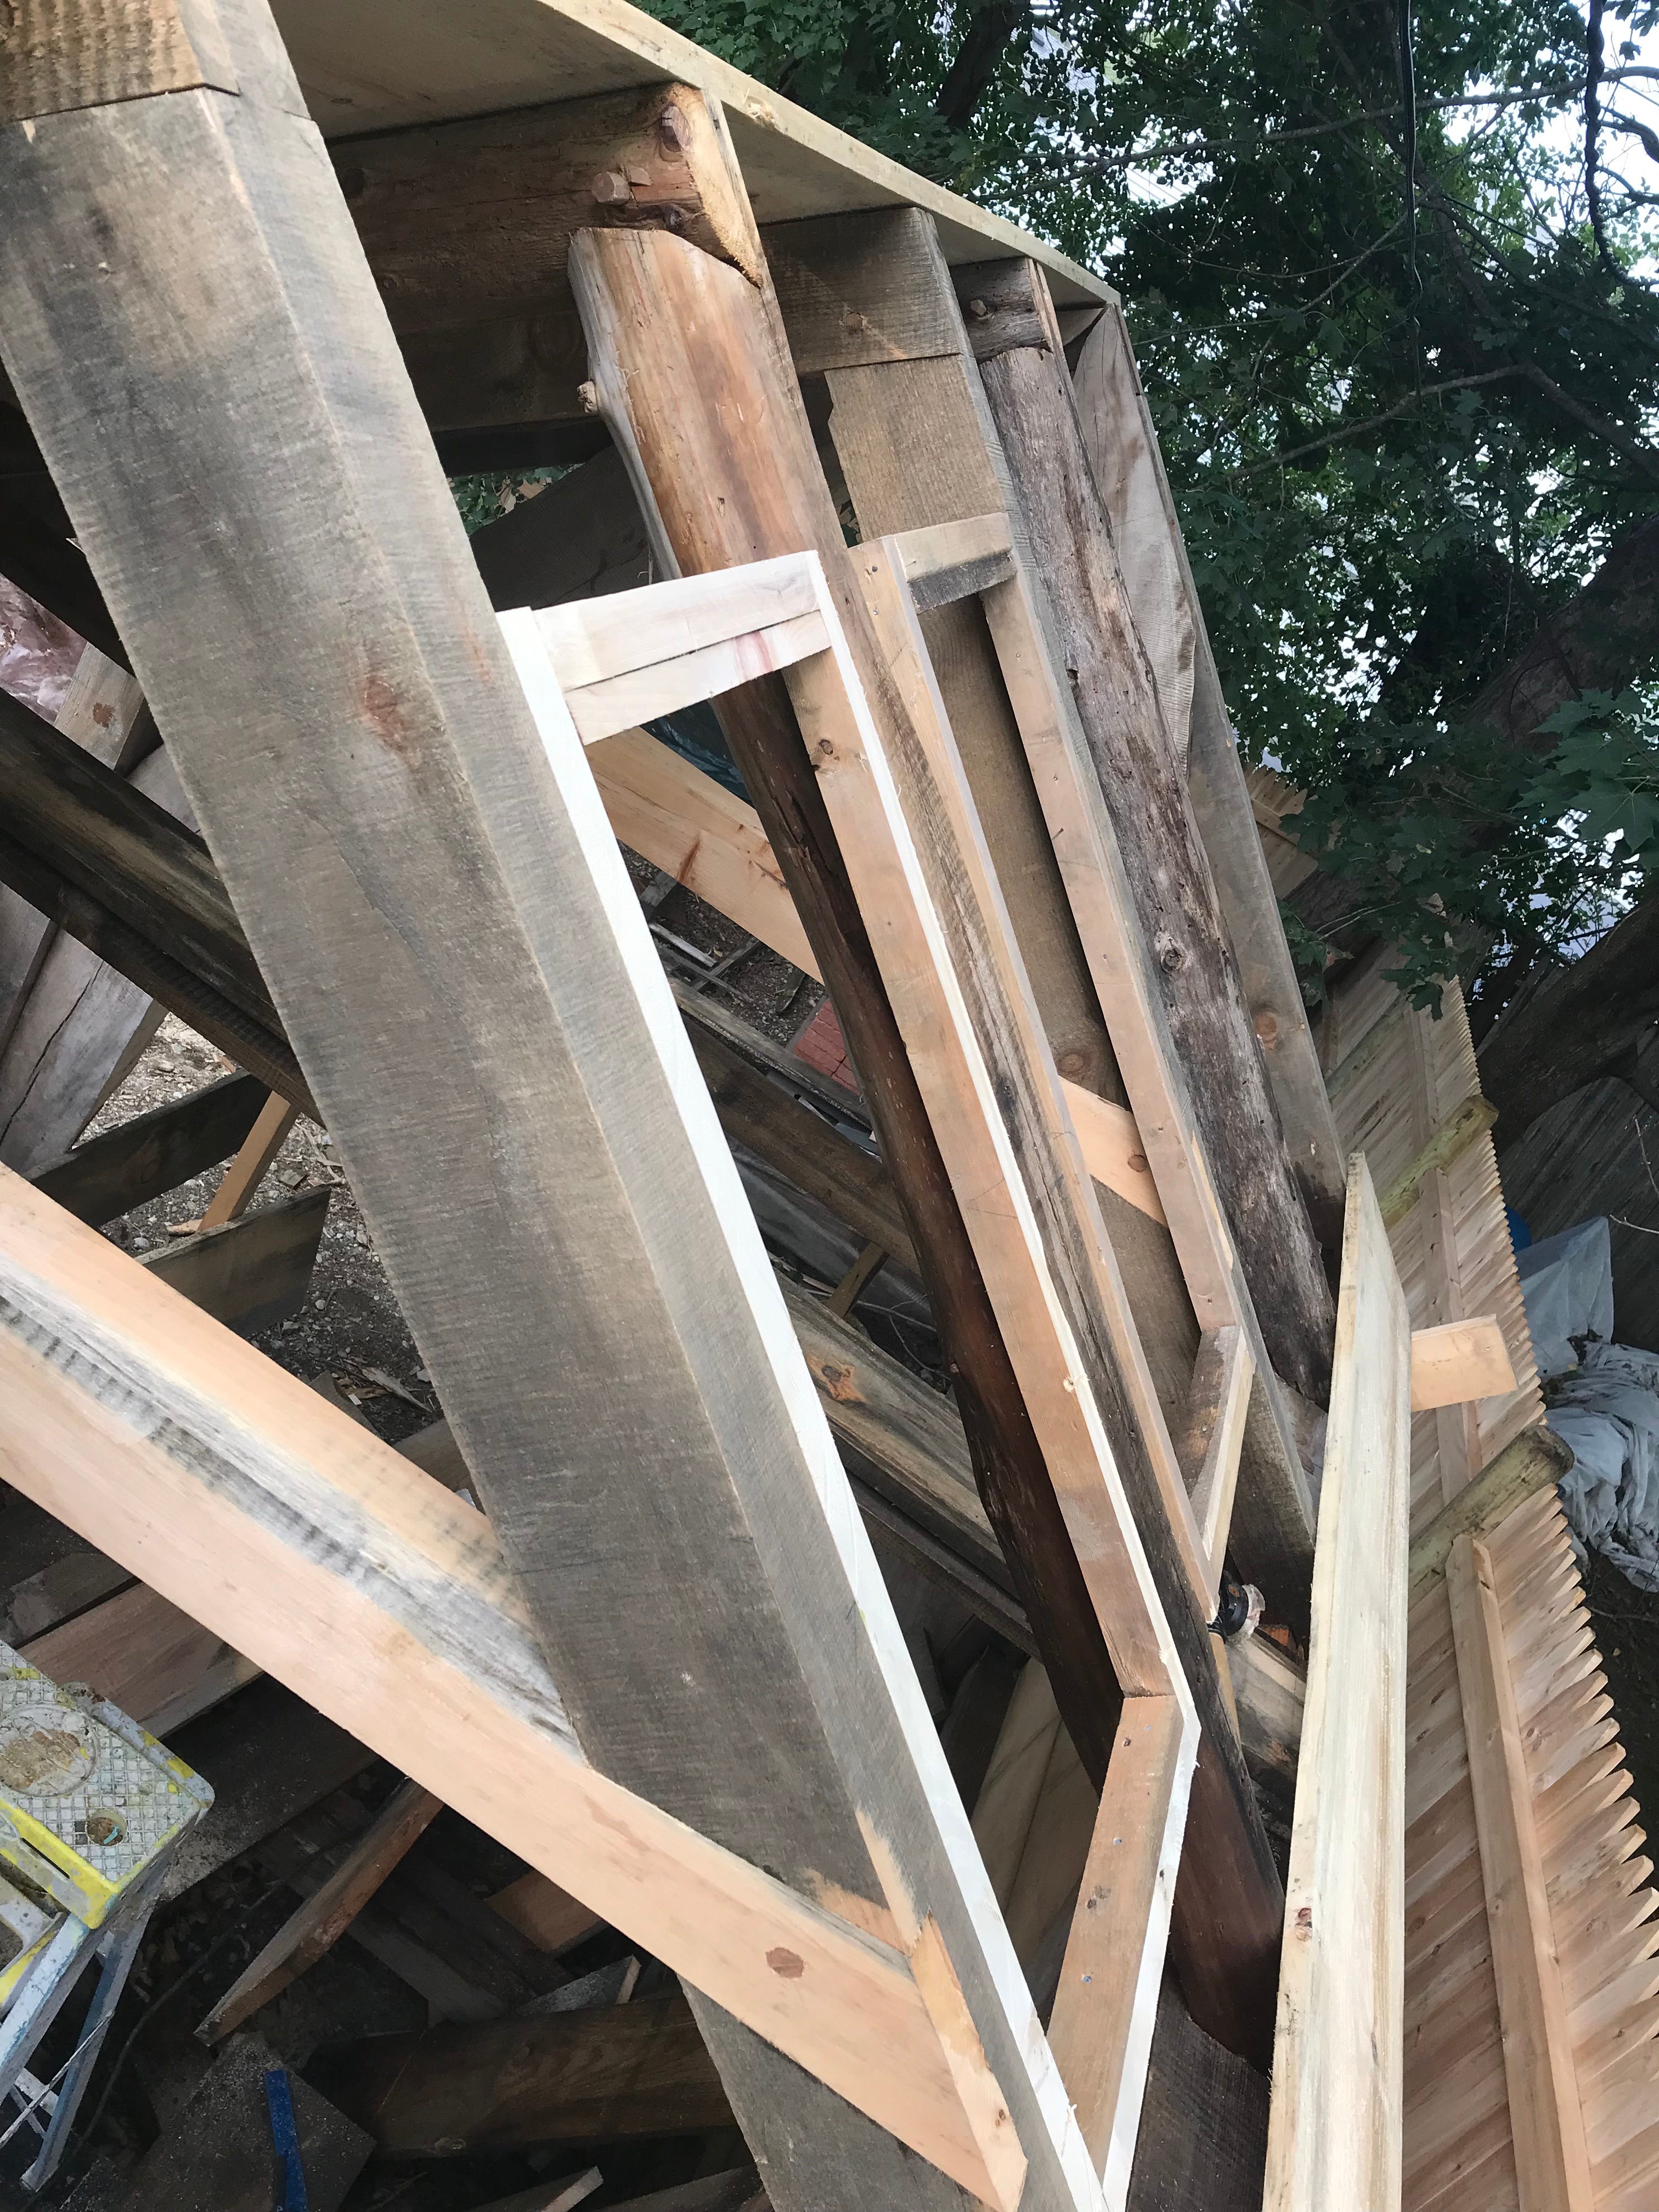
Sheathing. Sheathing. Tyvek.
After installing the rafters, sheathing boards were next on the list. These white pine boards were milled locally, and many ranged from 12-16” wide(!). When installing the boards, you need at least an 1/8” gap to accommodate for the expansion and contraction caused by changes in moisture content (summer vs. winter). A quick way to keep this gap is by resting a nail (perpendicular to the board) at both ends. Slide the board atop the nails, and fasten it to the frame! You can keep using the same pair of nails as you move up.
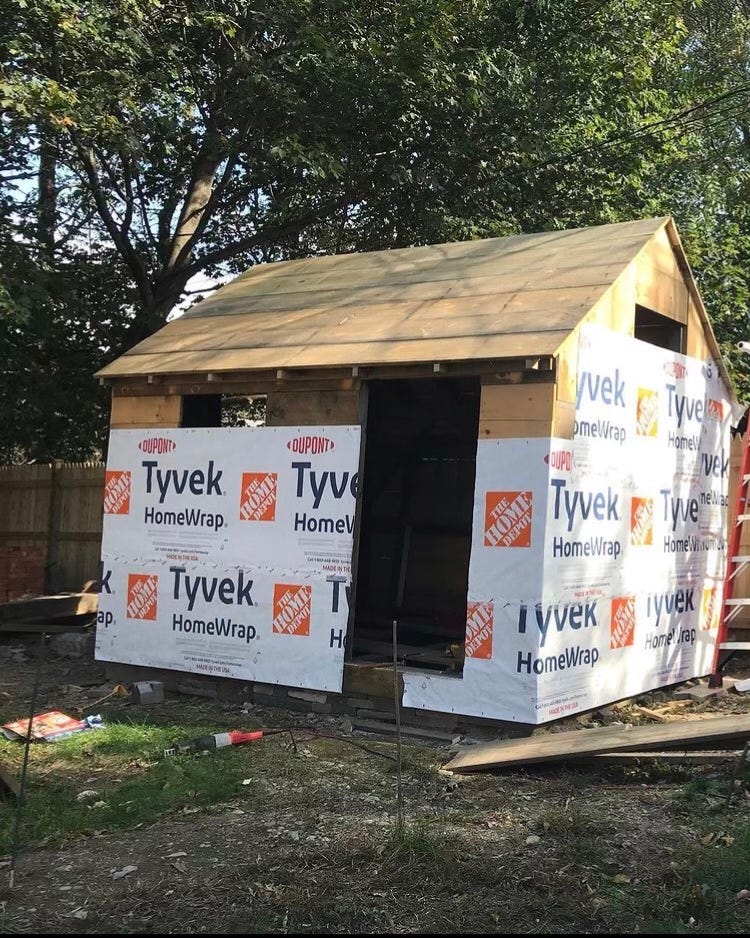
This week I’m finishing the flashing of door and window openings. I’ll have a post for you all on this and eave details coming soon.
Peace to you all,
Sophie
*A pair of rafters is called a couple.
So great to see the progress made and to think back: "I helped with that! A little."
(OK, actually, I just didn't get in the way too much. But still: Way cool!)